Label

car (5) cool (10) cute (3) fast (3) lol (4) new (4) Portfolio (2)

Kamis, 15 September 2016

CODE.ORG REVIEW

Hey everyone! how are you doing? sorry is been a long time i haven't post anything

So! today i'm going to make a review about.....*drum roll*

Code.org 
Image result for code

this is a site where you can learn all about coding with playing games and puzzle!

to start using this site first you have to sing up and to start on easy choose an hour of code! is a very fun place to learn about coding...i mean, come on, who doesn't like learning while playing games and fun stuff?

There is about 8 puzzle in the hour of code that you have to complete and the puzzle is very freaking fun. The 8 puzzle is:
-Star wars
-Angry Birds
-Flappy Bird
-Frozen
-Artist
-Infinity Play lab
-Play lab
-Minecraft
*note: the puzzle is not the same as the original game, only the character and the graphics*

When you start you will be played a video that introduce you about coding stuff, and the type of code that we use is a block code, not the javascript code that is very complicated. so, there will be no problem at all completing the quiz, right?

                                                                When you have done a puzzle you will be rewarded with a certificate by code.org. most of the certificate looks very similar but there is one, that is special, that is the Minecraft certificate!


*sorry if the pic doesn't show up 

from this website, you can learn the basic on making an application from the codes, the to the design, then you can make your own app from your knowledge at code.org

This is a very good website for learning codes and other coding stuff, very recommended website to visit and learn \(^_^)/

if you guys are asking, "have i finish the hour of code?" well the answer is an absolute YES 

I hope the info that i give is helpful and i'm so sorry i can't be online more often 

THANK YOU FOR VISITING MY BLOG AND HAVE A GREAT DAY!! 

Sabtu, 14 Mei 2016

How to make a shadow on an object at Pixlr.com

well just few minutes after the latest post, i'm back to make another tutorial post for Pixlr.com, now i'm going to tell you:
How to make a shadow on an object

yup, that's what we are going to do now, it just need simple steps, and you just don't realize that you just do an awesome technic. (please read this steps while hearing to my idol new song, if not is ok but it is recommended for arianators that is reading this)  


ok i'm going to some stuff on my head, so lets get onto the steps!!

step 1: choose a picture (transparent is very recommended) make sure the pic doesn't have a background, if it have you need to cut the object using the lasso tool

step 2: open pixlr and choose create new image (click on that blue thing at the image under) you will be given a choisse of the size of the image, just put whatever you want is ok.


step 3: open the transparent pic that you download or you have cut (for the one that is cut, make sure that you cut it and save it on PNG format) and make it as layer
(i use JOHN CENAAA LOL)

step 4: Right click the layer on the right side of the page and choose layer styles you will be given another choice and you have to choose the drop shadow option (not done yet)

step 5: you need to set the distance, opacity and size to make it perfect. I usually use this set:
distance: 22
opacity: 68
size: 0
and it will look something like this

and also you can change the color of the shadow, but it will be unnatural......right?


last step: save if you want to, because this step i make is only basic not professional i proffesional thang is hard like hell


well that is all for me, thank you for viewing my blog! i hope this is helpful for you guys. I'm so sorry to the pros that seeing my blog if i make a very bad mistake, because i'm not very talented to be honest. as always GOOOOOOOOOOD BYEEEEE!!

-Sincerly DBP- 


How To Combine 2 or more Background Together on Pixlr.com

Helloooooo guys!!! how are you doin today, i'm back from a long time cause some school work you know. im so sorry if i wasn't active for a few days, weeks or months! but today i'm going to show you how to combine 2 or MORE background on Pixlr.com (cause i cant even download photoshop on my mac, because my mac is old school, the 1st generation macbook is my laptop cool right! not really...)


so without further or do, lets go into the first step!

step 1: make sure you have 2 or more picture or background

step 2: open pixlr.com


step 3: choose and open one of your image to be the background of the pic you are going to make by simply just press ctrl+o (for macbook) to open (sorry for that ad)

step 4: open another pic to be the layer for the background by clicking layer on the top of the page and click 'open image as layer'


step 5: adjust the size of the layer to make the same size like the background by simply just press ctrl+T


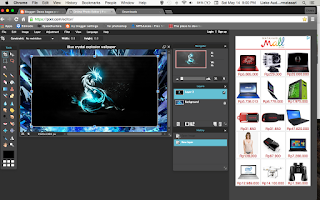
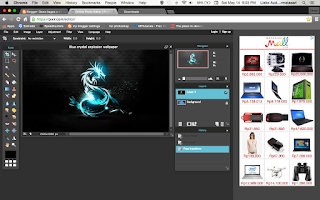
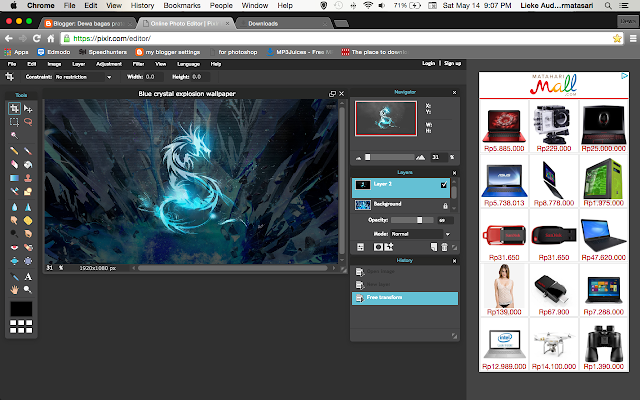
step 6: then press a button that is on the option of layer for the opacity (not the top one, the side one) and set the opacity until the picture almost fade away (sorry i dont know the word for it and if you still confused look at the picture below)


step 7: then you save the pic or if you haven't use Pixlr, you can explore you may found something that can make it cooler (im not good at stuff like this)


and.... that is all that you simply need to do to make 2 pictures combined, i am so sorry if my tutorial is soo bad and if it doesn't work for you, just ask the pros, because they are hundred times more better than me. and sorry i cant make the tutorial for windows because i don't have a windows laptop, and this oldschool macbook is my only laptop, once again im sorry if this tutorial is bad.


THANK YOU GUYS FOR VIEWING MY BLOG, I HOPE IT IS HELPFUL FOR YOU. GOOOOOOOOOOD BYEEEE!


*note: all pics above is done by myself and it becomes something like this: